 Step 1:
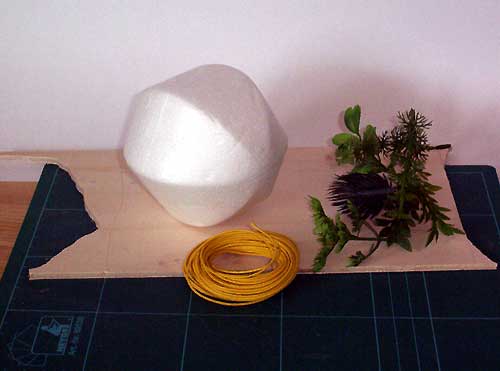
This is an overview of the materials I needed to build a tent - one of the facetted styrofoam balls, a piece of 4mm plywood for the base, some thin cable (normally used for model railroads) and some plastic plants. Not shown on the picture are the usual basing materials like wood glue, sand and static grass and tools like hobby knife, files, sandpaper, clipper, paintbrushes and of course paints. |
 Step 2:
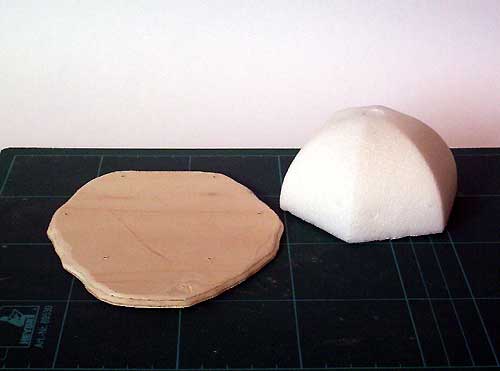
The first thing is to cut the styrofoam ball in half using a big, sharp knife (I used one out of my kitchen for this). Take one of the halves and place it on the plywood. I marked the edges of the ball on the plywood and then outlined an irregular shaped base onto the plywood. I made sure that there would be enough room for one mini on one side of the tent (this will be the entry of the tent). I cut out the base using a hobby saw and then rounded down the edges using files and sandpaper. At last I drilled some holes through the marked spots of the tent edges so that I could stick the thin cable through them. |
 Step 3:
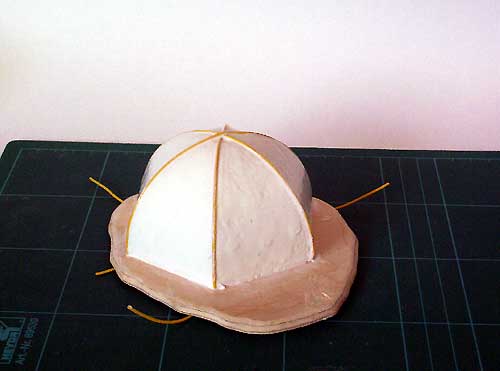
I use some wood glue to glue the styrofoam half in place and the cut three lengths of the cable long enough to reach over the tent and with some additional centimeters on the underside of the base. I stuck one end of the first cable piece through the first hole in the base and folded the end on the underside. Then I glued it across the tent along the edge, sticking the other end through the opposite hole, again folding the end on the underside. Due to the folding the cable it will stay in place until the glue is dry. After I had repeated this with the other cable pieces I covered the whole thing with watered down wood glue to protect the styrofoam so that I can spray-prime it later. Make sure that you cover all styrofoam or the spry primer will melt it away! |
 Step 4:
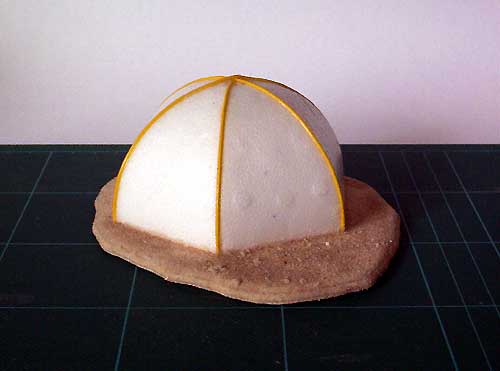
When all glue on the tent has dried I covered the base with wood glue and poured coarse sand over it. After this has dried I went of it again with watered down wood glue. |
 Step 5:
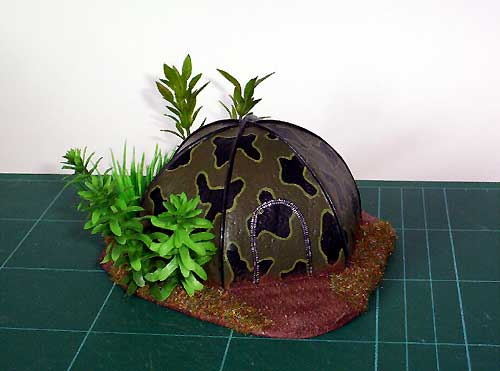
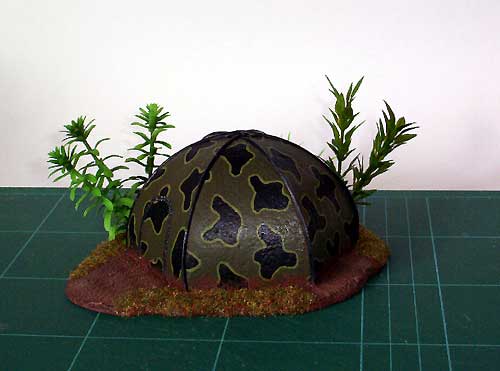
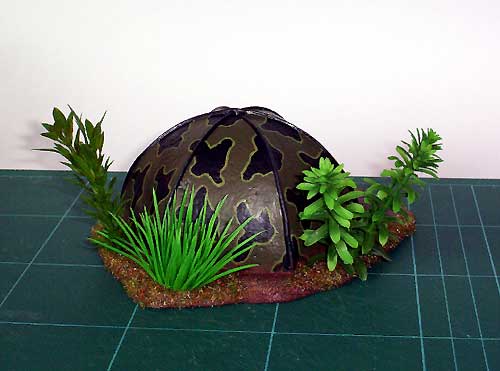
I then primed the tent with some spray primer and painted it in the main camo pattern of my army. On the entry side I painted a zipper to allow access. I then painted the base and applied some static grass. To finish the piece I drilled holes into the base and glued different plastic plants into them. In the end I had a nicely looking and very cheap (under 2 Euros all in all) tent that was made in a very short time (the painting was by far the most time consuming part). |
|

|